Wiring multiple outlets on the same circuit can seem daunting, but it’s a manageable task with the right guidance. Whether you’re upgrading your home or tackling a DIY project, understanding the basics of electrical wiring is essential. This process not only enhances convenience but also ensures that your electrical system operates efficiently.
In this article, readers will discover step-by-step instructions on how to safely and effectively wire multiple outlets. From gathering the necessary tools to understanding circuit load, every detail matters. With a little patience and knowledge, anyone can transform their space and increase functionality without the need for a professional electrician.
How to Wire Multiple Outlets On Same Circuit
Understanding electrical circuits forms the foundation for wiring multiple outlets effectively. Mastery of these concepts enhances safety and ensures optimal performance in a home.
Basic Concepts of Circuits
Circuits consist of three primary components: the power source, the load, and the conductors.
- Power Source: Provides electricity, typically from the main electrical panel or a dedicated circuit breaker.
- Load: Represents devices or fixtures using electricity, such as lamps, appliances, and tools.
- Conductors: Includes wires that connect the power source to the load, allowing electricity to flow.
Series and parallel circuits are the two main types. Series circuits share the same current, while parallel circuits supply the same voltage and allow independent operation of multiple loads. Understanding these differences is crucial when wiring multiple outlets.
Importance of Outlets on the Same Circuit
Outlets on the same circuit offer several advantages:
- Load Distribution: Evenly distributes electrical load across outlets, minimizing the risk of overload.
- Convenience: Allows multiple devices to operate from one circuit, enhancing accessibility.
- Simplified Wiring: Reduces the complexity of installation, as fewer circuits need to be run.
Proper configuration ensures optimum performance while adhering to safety regulations. Managing circuit load effectively prevents issues such as tripped breakers or overheating.
Tools and Materials Needed

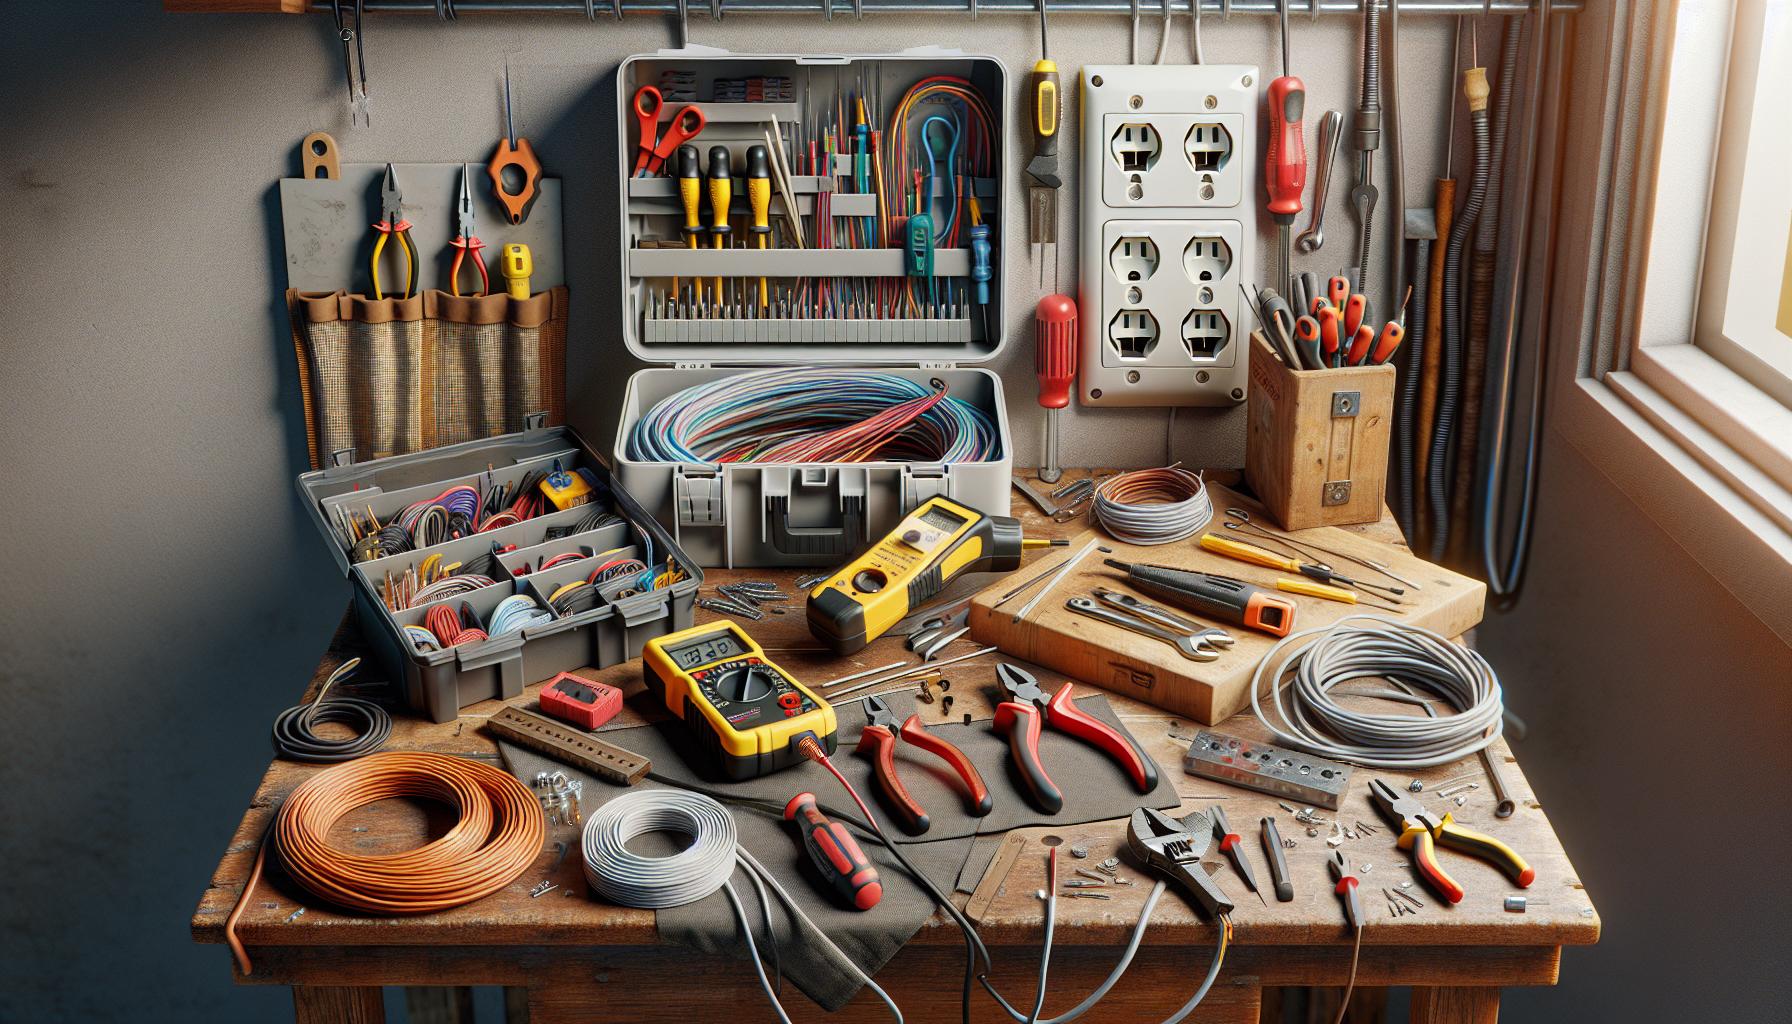
Having the right tools and materials ensures a successful wiring project for multiple outlets. Below are essential tools and required materials for this task.
Essential Wiring Tools
- Voltage Tester: Confirms the presence or absence of electrical current in wires and outlets, ensuring safety.
- Wire Strippers: Removes insulation from wire ends, facilitating secure connections.
- Screwdrivers: Utilizes both flat-head and Phillips screwdrivers for fastening outlets and junction boxes.
- Pliers: Grips, bends, and cuts wires with ease, providing versatility in handling various tasks.
- Fish Tape: Assists in pulling new wires through walls, making installations easier.
- Drill: Creates holes for mounting outlets and running wires through walls or ceilings.
- Measuring Tape: Measures distances accurately, ensuring proper placement of outlets.
- Electrical Wire: Uses 12 or 14-gauge NM (non-metallic) cable depending on the circuit’s amperage rating.
- Outlets: Selects standard or GFCI (Ground Fault Circuit Interrupter) outlets for safety in damp locations.
- Outlet Boxes: Provides housings for outlets, ensuring safe and secure installations within walls.
- Wire Nuts: Combines and insulates multiple wire connections, maintaining a tidy and safe wiring setup.
- Electrical Tape: Secures wire splices and connections, preventing exposure and ensuring safety.
- Circuit Breaker: Uses the appropriate amp rating to protect the circuit from overload.
- Face Plates: Finishes and protects outlets for a polished look, hiding wiring inside outlet boxes.
Step-by-Step Guide to Wiring Outlets
This guide provides detailed instructions for wiring multiple outlets on the same circuit, ensuring safety and functionality.
Planning Your Circuit Layout
- Determine the total load capacity. Calculate the combined wattage of all devices to ensure the circuit’s two-prong or three-prong outlet can handle the load.
- Sketch a layout. Create a diagram indicating the placement of each outlet. Include distances from the circuit box and other outlets.
- Avoid overloading. Adhere to the National Electrical Code (NEC) guidelines, which recommend a maximum of 12 outlets per 15-amp circuit.
- Choose the right circuit type. For most applications, a 15-amp or 20-amp circuit will suffice. Verify circuit breaker ratings for compatibility.
Wiring the First Outlet
- Turn off the power at the circuit breaker. Use a voltage tester to confirm the absence of voltage.
- Prepare the wires. Strip about ¾ inch of insulation from the ends of each wire using wire strippers.
- Connect the wires. Attach the black (hot) wire to the brass screw, the white (neutral) wire to the silver screw, and the bare/green (ground) wire to the green grounding screw.
- Secure the outlet. Push the wires back into the box and attach the outlet to the wall using screws. Install the faceplate afterward.
- Route the NM cable. Run a new NM cable from the first outlet to the location of the next outlet.
- Repeat wire preparation. Strip the wires of the new cable in the same manner as the first outlet.
- Connect new outlet wires. Attach the black wire to the brass screw, the white wire to the silver screw, and the ground wire to the green screw, as previously done.
- Secure and repeat. Fasten the outlet in place, and follow the steps for additional outlets until all are connected. Test each outlet to confirm functionality before restoring power.
Safety Precautions
Safety precautions are essential when wiring multiple outlets on the same circuit. Following proper safety measures prevents accidents and ensures a safe working environment.
Importance of Safety Gear
Wearing appropriate safety gear protects against electrical hazards. Key items include:
- Safety Glasses: Protects the eyes from debris and accidental sparks.
- Insulated Gloves: Reduces the risk of electrical shock when handling wires.
- Hard Hats: Provides protection from falling tools or materials.
- Dust Masks: Prevents inhalation of harmful particles during installation.
Using these safety items minimizes risks while working with electrical components.
Common Safety Hazards
Understanding common safety hazards helps prioritize safety during electrical work. Frequent hazards include:
- Electrical Shock: Contact with live wires can cause severe injury. Always turn off power before starting work.
- Overloaded Circuits: Connecting too many outlets can exceed circuit capacity, leading to overheating. Check the total load before adding outlets.
- Improper Wiring: Mistakes in wiring can cause shorts or fires. Follow proper wiring techniques and double-check connections.
- Falling Objects: Tools and materials can fall, causing injury. Maintain a tidy workspace and secure loose items.
- Inadequate Lighting: Poor visibility may lead to mistakes. Ensure adequate lighting in the working area for safe project execution.
Awareness of these hazards significantly enhances safety while wiring multiple outlets.
Testing Your Work
Testing ensures everything functions correctly after wiring multiple outlets. Verifying connections and troubleshooting issues enhances safety and operational efficiency.
Ensuring Proper Connections
Verify the integrity of connections at each outlet. Check that wires are securely fastened to terminals and that no copper is exposed. Ensure that the connections are tightened, but avoid over-tightening to prevent wire damage. Use a voltage tester to confirm that outlets receive power. Insert the tester into each outlet; a lit indicator means proper connection. Document findings to identify future maintenance needs.
Troubleshooting Common Issues
Identify common issues that may arise during testing. Recognize symptoms like non-functional outlets or flickering lights, which indicate potential wiring problems. If an outlet fails, check connections at both the outlet and the circuit box. Inspect for loose wires, signs of burning, or damage. If multiple outlets fail, assess the circuit breaker for tripped or blown fuses. Test each outlet individually to isolate issues. In complicated cases, consulting an electrician may be necessary for in-depth troubleshooting.
Wiring multiple outlets on the same circuit can greatly enhance convenience in any home. By following the outlined steps and prioritizing safety, anyone can confidently tackle this project. Understanding the fundamentals of electrical circuits and adhering to safety precautions are essential for success.
With the right tools and materials on hand, the process becomes manageable. Testing each outlet after installation ensures everything functions correctly and helps identify potential issues early on. This proactive approach not only promotes safety but also contributes to a more efficient electrical system. Homeowners can enjoy the benefits of additional outlets while minimizing risks.
