Dealing with live wires can be a daunting task, especially for those unfamiliar with electrical work. However, knowing how to safely cap a live wire is essential for anyone looking to tackle DIY projects or make home repairs. This simple yet crucial skill can prevent accidents and ensure a safer environment during electrical installations or modifications.
Capping a live wire not only protects individuals from potential electric shocks but also safeguards appliances and devices from damage. With the right tools and techniques, anyone can learn to effectively cap live wires, making their home improvement projects more manageable. In this article, readers will discover the step-by-step process to cap a live wire safely and efficiently, empowering them to take control of their electrical tasks with confidence.
How To Cap A Live Wire
Understanding live wires is crucial for any electrical work. Live wires carry electrical current and pose significant hazards if not handled correctly.
What Is a Live Wire?
A live wire is an electrical conductor that carries voltage and current from a power source to a device. It is also referred to as a “hot wire.” The conductive materials, typically copper or aluminum, enable the transmission of electricity. Recognizing which wires are live can prevent dangerous errors during installation or maintenance.
Risks Associated with Live Wires
Several risks accompany live wires.
- Electric Shock: Contact with live wires can cause severe electric shocks, leading to injury or even fatal consequences.
- Electrical Fires: Live wires can overheat and ignite nearby materials, triggering electrical fires.
- Damage to Equipment: Exposure of appliances or devices to live wires can result in short circuits, causing malfunction or permanent damage.
- Injury from Arcing: Arcing occurs when electricity jumps gaps in wires, potentially injuring individuals nearby.
Awareness of these risks underscores the importance of safety when working with live wires. Following proper procedures for capping live wires mitigates these dangers and protects individuals and property.
Tools and Materials Needed

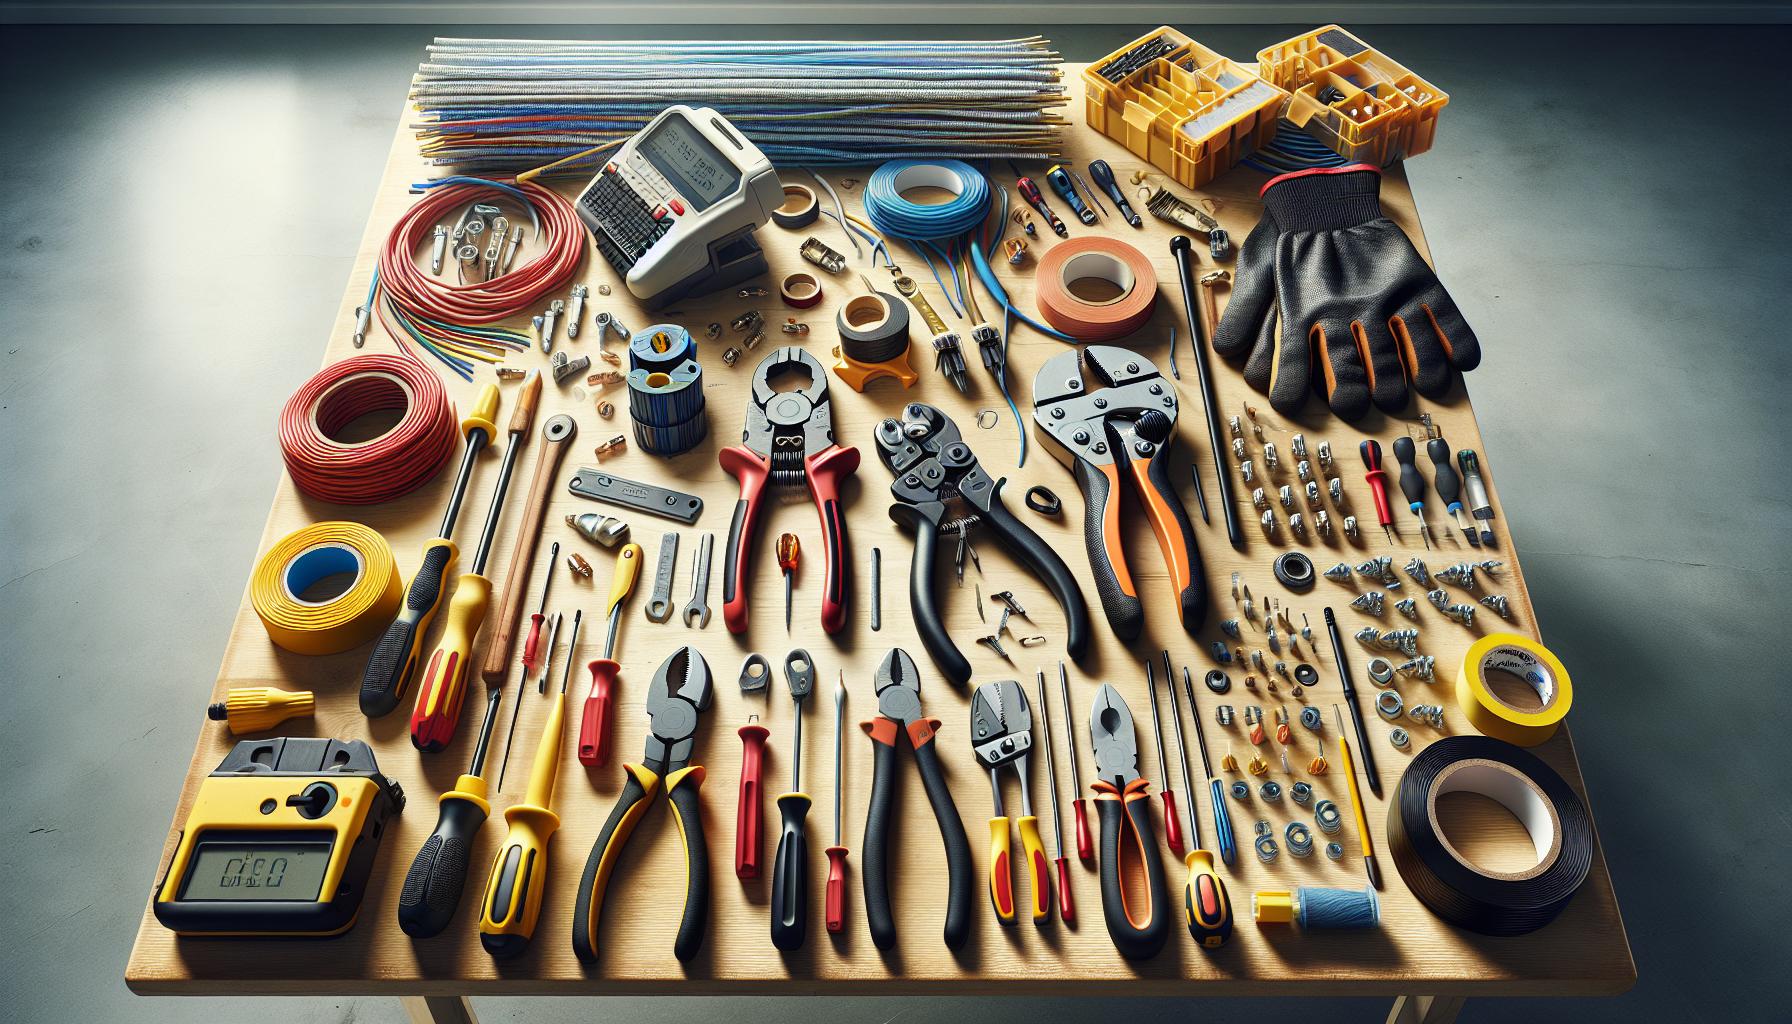
Having the right tools and materials simplifies the process of capping live wires effectively and safely. Below are the essential tools and safety equipment required for this task.
Essential Tools
- Wire Cutters: Wire cutters manage to cleanly cut through live wires without fraying the ends. They provide a clean break, essential for effective capping.
- Wire Strippers: Wire strippers remove insulation from wire ends, allowing for proper capping. Different gauges require different settings, so using the correct one ensures accuracy.
- Screwdriver: A screwdriver fastens wire caps securely. It’s important to have a flathead and Phillips screwdriver for various cap types.
- Electrical Tape: Electrical tape insulates wire ends after capping. This prevents accidental contact and provides an additional layer of safety.
- Wire Nuts: Wire nuts effectively join and cap wire ends. They are available in various sizes and can accommodate multiple wires.
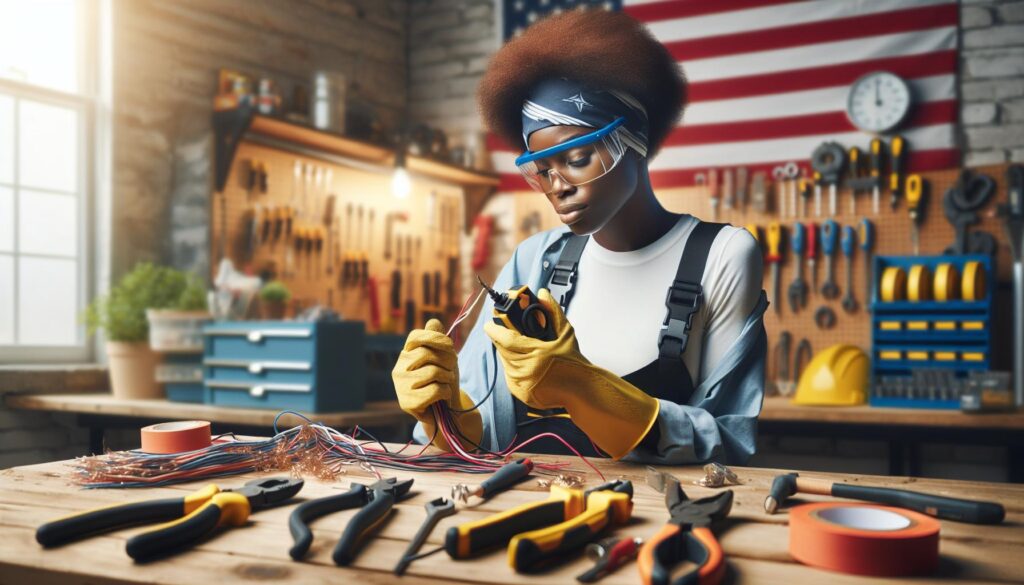
- Rubber Gloves: Rubber gloves protect hands from electric shock and provide insulation. They should be rated for electrical work and free from damage.
- Safety Glasses: Safety glasses shield eyes from debris during cutting and stripping. They prevent potential injuries from flying particles.
- Insulated Tools: Insulated tools reduce the risk of electric shock during work. Prefer tools specifically designed to handle live electrical tasks.
- Voltage Tester: A voltage tester checks the presence of electricity before capping. This tool confirms that no current flows through the wire, ensuring safety.
- First Aid Kit: A first aid kit addresses potential injuries quickly. It includes bandages, antiseptics, and necessary supplies for minor electrical accidents.
Step-by-Step Guide on How to Cap a Live Wire
This section outlines the essential steps to safely cap a live wire. Following these procedures ensures both safety and effectiveness.
Preparing the Workspace
- Clear the Area: Remove obstacles around the workspace to prevent tripping and ensure easy access.
- Ensure Ventilation: Open windows or turn on a fan to maintain fresh air circulation, especially in enclosed spaces.
- Gather Tools and Materials: Collect the necessary tools, including wire cutters, wire strippers, screwdrivers, electrical tape, wire nuts, voltage tester, and safety gear such as rubber gloves and safety glasses.
- Shut Off Power: Switch off the circuit breaker or remove the fuse supplying electricity to the live wire to avoid electric shock.
- Verify Power is Off: Use a voltage tester to confirm that the wire is not live before beginning work.
Capping the Live Wire
- Strip the Wire: Use wire strippers to remove about 1 inch of insulation from the end of the live wire, exposing the copper conductor.
- Twist on a Wire Nut: Hold the exposed copper wire and twist on a wire nut securely, ensuring a tight fit to prevent disconnection.
- Wrap with Electrical Tape: Cover the wire nut and exposed wire with electrical tape, wrapping it tightly to insulate and protect from moisture and dust.
- Secure Loose Wires: Tuck the capped live wire back into the electrical box, ensuring it sits securely and does not obstruct any remaining wires.
- Check the Connection: Inspect the capped wire for any visible signs of damage or inadequately secured connections.
- Restore Power: Turn the circuit breaker back on or install the fuse to restore electricity.
- Test with Voltage Meter: Use a voltage tester on nearby live wires to ensure the capping was successful and no voltage escapes from the capped wire.
- Monitor for Issues: Observe the capped wire for any unusual signs, such as heat or burning smells, indicating a connection problem.
These steps help ensure a safe and effective capping process for a live wire.
Safety Precautions
Prioritizing safety is critical when capping live wires. Recognizing potential dangers and taking appropriate precautions can prevent accidents, injuries, and damage.
Importance of Personal Protective Equipment
Using personal protective equipment (PPE) significantly reduces the risk of injury. Key PPE items include:
- Rubber Gloves: Insulated gloves protect against electric shock.
- Safety Glasses: Eye protection shields against flying debris during cutting or stripping wires.
- Hard Hats: Head protection guards against falling objects in work areas.
- Insulated Tools: Tools with insulated handles prevent accidental electric conduction.
Wear appropriate PPE at all times when working with live wires. Non-insulated footwear, for instance, increases the risk of shock. Ensuring all PPE is in good condition is essential for maximum protection.
Common Mistakes to Avoid
Avoiding common mistakes can enhance safety during the capping process. Frequent errors include:
- Not Turning Off Power: Failing to shut off electricity before beginning increases the risk of electric shock.
- Using Damaged Tools: Utilizing malfunctioning or damaged tools can lead to accidents.
- Neglecting to Verify Power is Off: Not testing with a voltage tester after turning off the power creates a false sense of security.
- Inadequate Wire Stripping: Poor stripping can expose bare wire, leading to potential hazards.
Recognizing these pitfalls fosters a safer work environment and promotes successful project execution.
Capping live wires is a crucial skill for anyone tackling DIY electrical projects. By following the proper procedures and using the right tools, individuals can significantly reduce the risk of accidents and ensure their safety. Understanding the hazards associated with live wires and the importance of personal protective equipment is essential for a successful outcome.
With careful preparation and attention to detail, capping live wires can be accomplished effectively and safely. This knowledge empowers individuals to approach their electrical tasks with confidence, ultimately leading to safer homes and successful repairs. Prioritizing safety and adhering to best practices will always yield the best results in electrical work.
