
Launching an e-commerce website is a great way to boost your business. Whether you’re just starting out or already have a vibrant spaces, creating an online store lets you reach a broader audience and promote and sell your products globally. Shopify is a popular platform because it’s easy to use and packed with useful features, and partnering with experts like Instinctools or a marketing agency Chicago can further enhance your online store’s capabilities and optimize your e-commerce strategy.
However, building a Shopify website takes careful planning. In this article, we’ll outline the essential steps to create a successful Shopify site that meets your business needs and offers a seamless shopping experience for your customers.
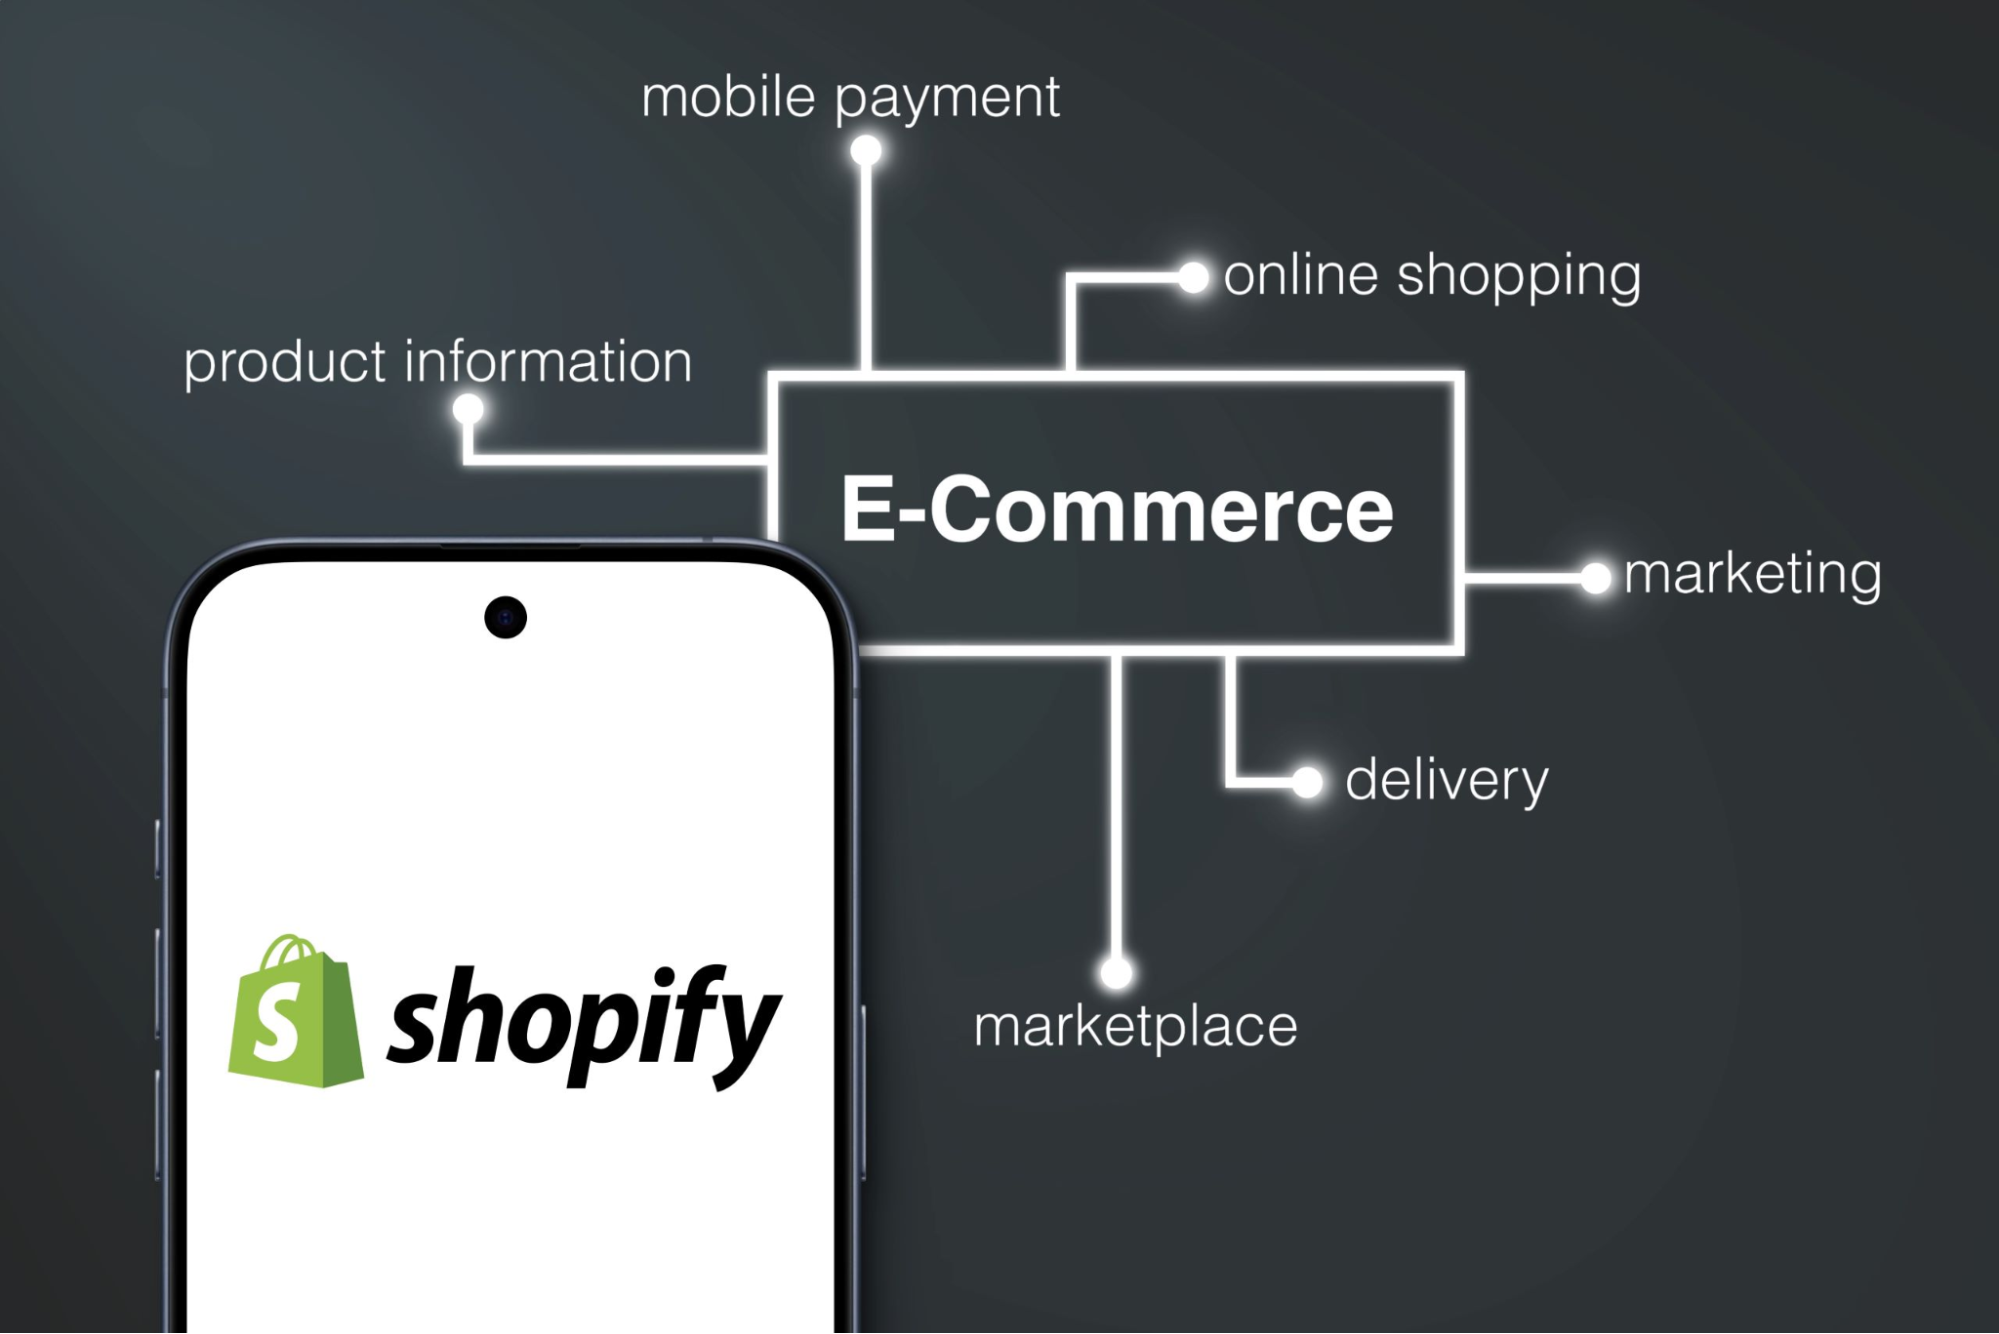
What Is Shopify?
Shopify, a leading e-commerce platform or marketing agency Chicago, allows businesses to create, customize, and manage online stores with ease. Founded in 2006, Shopify has grown into one of the most popular e-commerce solutions globally, serving over a million businesses in more than 175 countries. The platform is known for its simplicity, making it accessible to users without technical expertise.
One of the significant benefits of a Shopify website is its scalability. Whether you’re just starting with a small online store or planning to expand into a large-scale e-commerce business, Shopify can grow with you. If you’re looking for professional help to optimize your Shopify store, partnering with a Shopify agency London can provide the expertise needed to ensure your website stands out.
7 Steps for a Successful Shopify Website
E-commerce offers tons of opportunities for stay-at-home moms, starting entrepreneurs, and anyone who wants to have a profitable online business. Below are the steps you can follow to create a successful Shopify website.
Step 1: Plan Your Store’s Structure and Design
Before diving into the technical aspects, it’s crucial to plan the structure and design of your Shopify store. Consider your target audience and the type of products you’ll be selling. Decide on the categories and navigation structure to ensure a smooth user experience. Next, pick a theme that aligns with your brand’s identity and resonates with your customers. Choose the best Shopify theme store with a broad range of customizable options. Take your time to find the one that best suits your business, and consider consulting Shopify experts.
Additionally, you’ll want to secure the necessary technical components to support your store. Choose a reliable web hosting provider and relevant domain name, which you can generate using a domain name generator. A custom domain enhances your store’s professionalism and branding. Furthermore, consider using a page builder tool that integrates well with Shopify. This will allow you to tailor the look and feel of your store without needing advanced coding skills. Investing in a custom domain not only boosts your store’s credibility but also helps with search engine optimization (SEO) and better online visibility.
Step 2: Set Up Your Shopify Account
Setting up a Shopify account is the first technical step in launching your e-commerce website using the platform’s website builder. Simply sign up on Shopify’s website and choose a pricing plan. Generally, you are the default Shopify admin. After creating your account, you’ll be directed to the Shopify dashboard to start building your store. This step involves entering basic information about your business, including your store name, address, and preferred currency.
Step 3: Add Products to Your Store
With your account set up, the next step is to add products to your store. Shopify makes it easy to upload product details, including titles, descriptions, images, and pricing. Product descriptions must be clear and compelling, highlighting the features and benefits of each item. High-quality images are also essential.
Step 4: Customize Your Store’s Design
Once your products are uploaded, it’s time to customize your store’s design by choosing one of the best Shopify themes. Use Shopify’s theme editor to adjust the layout, colors, and fonts to match your e-commerce brand’s style. You can also add custom elements, like banners and logos, to create a unique look.
Step 5: Set Up Shopify Payment and Shipping Options
Shopify integrates with various payment gateways, allowing you to accept payments from customers worldwide. Choose the most popular mobile wallets across the world as convenient payment options for your target audience, such as credit cards, PayPal, or Apple Pay.

With multiple Shopify payments, you can attract more new customers to your store. Additionally, configure your Shopify shipping settings based on your delivery methods, including flat rates, free shipping, or real-time carrier rates.
Step 6: Configure Essential Apps and Integrations
From marketing and SEO apps to inventory management and customer support tools, there’s an app for almost every aspect of your business. Identify the key areas where you need additional support and install the relevant apps. Integrating with email marketing services, social media platforms, and analytics tools can also help you drive traffic and monitor your store’s performance.
Step 7: Test and Launch Your Store
Before officially launching your Shopify store, it’s important to test every aspect to ensure a smooth shopping experience for your customers. Go through the checkout process, test payment gateways, and check your store’s mobile responsiveness. Additionally, review your store’s content for any errors or inconsistencies. Once you’re confident that everything is in place, it’s time to launch your store and start promoting it to your audience.
Conclusion
Developing a Shopify plan for creating an e-commerce website involves more than just setting up an online store; it requires thoughtful planning, careful execution, and continuous optimization. Whether you’re handling the development yourself or working with a professional team, remember that the key to a successful launch lies in attention to detail and a focus on the customer experience. Now, take the first step and bring your e-commerce vision to life with the help of Shopify experts.