Wiring receptacles in series can seem daunting, but it’s a straightforward process that can enhance the functionality of any electrical system. Understanding the basics of electrical circuits is vital for anyone looking to tackle this task. When done correctly, it allows multiple outlets to share a single power source, making it an efficient solution for various applications.
In this guide, readers will discover the essential steps and safety precautions needed to wire receptacles in series. From gathering the right tools to ensuring proper connections, this article will equip DIY enthusiasts and homeowners with the knowledge they need to successfully complete the project. With a little patience and attention to detail, anyone can master this skill and enjoy the benefits of well-connected electrical outlets.
How to Wire Receptacles In Series
Series wiring for receptacles connects multiple outlets in a single electrical loop. Each outlet receives power from the preceding one, making this an efficient way to extend electrical access. In a series circuit, if one receptacle fails, all others lose power, which may not be ideal for all applications.
Benefits of Series Wiring
- Cost-Effectiveness: Wiring receptacles in series reduces the amount of wire required, lowering material costs.
- Simplified Installation: Fewer wires mean a simpler installation process, making it easier for DIY enthusiasts.
- Space Efficiency: This method uses less space for wiring, allowing for cleaner and more organized installations.
Considerations for Series Wiring
- Voltage Drop: Increased distance between outlets can cause a voltage drop, impacting device performance. Keeping receptacles close together helps mitigate this issue.
- Load Capacity: The total load on the circuit should not exceed the circuit breaker’s limit. Understanding the combined wattage of devices plugged into all outlets is essential.
- Circuit Type: Using series wiring is less common in modern applications. Homeowners should evaluate if this method suits their specific needs based on usage patterns.
- Turn Off Power: Always switch off the circuit breaker before starting any wiring work to prevent electrical shock.
- Use Proper Materials: Ensure all components, like wiring and receptacles, meet local electrical codes to guarantee safety and performance.
- Double-Check Connections: Secure all connections tightly to prevent loose wires, which can cause overheating or sparks.
Understanding these aspects of series wiring ensures a safe and effective installation process, empowering individuals to enhance their electrical systems efficiently.
Tools and Materials Needed

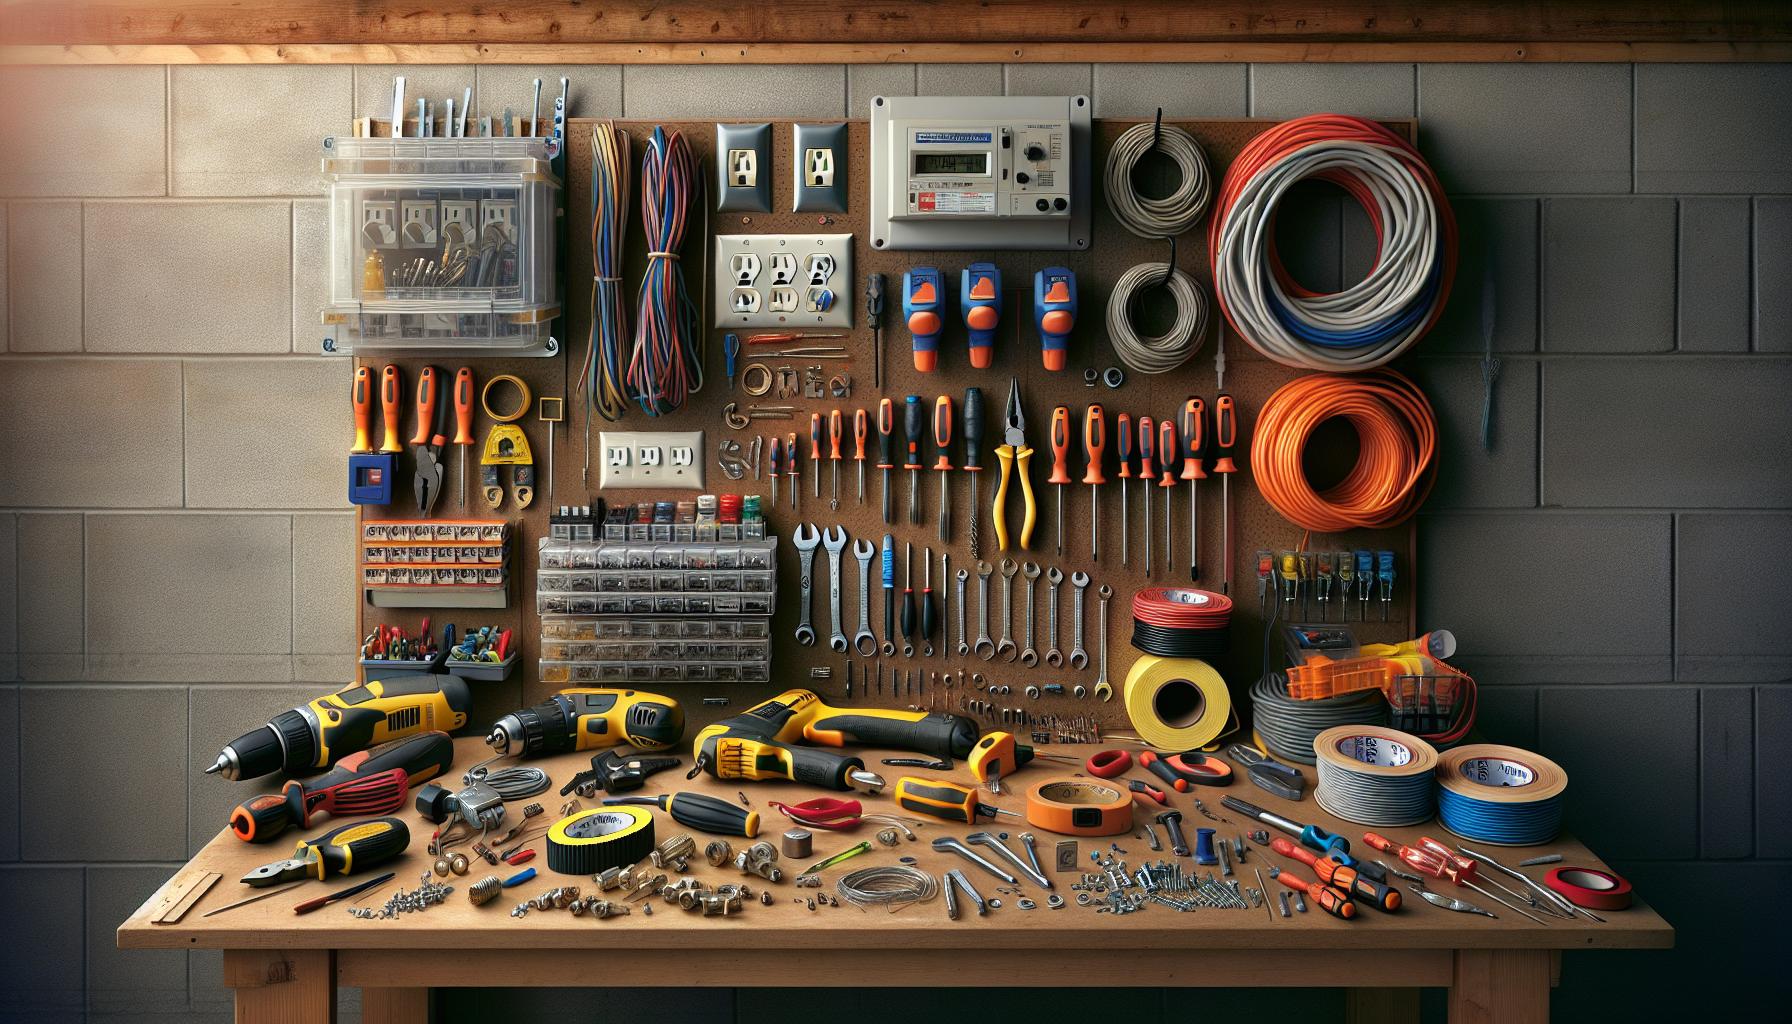
Gathering the correct tools and materials is vital for successful receptacle installation in series. The following sections detail the essential tools and required materials for this project.
Essential Tools
- Wire Strippers: Used to remove insulation from wires, the tool ensures proper connection points for series wiring.
- Screwdrivers: A flathead and a Phillips screwdriver are necessary for securing receptacles and covers.
- Pliers: Needle-nose pliers help grip and manipulate wires, making adjustments easier.
- Voltage Tester: This device checks for electrical current, ensuring safety before handling wires.
- Drill: A power drill with appropriate bits enables the installation of receptacles into walls and securing them firmly.
- Electrical Wiring: Use 12 or 14-gauge wire, depending on the circuit breaker’s amperage rating. Copper wire is commonly preferred for its conductivity.
- Receptacles: Select standard duplex outlets for general use or specialty outlets as needed for specific applications.
- Wire Nuts: These connectors secure wire joints, preventing inadvertent disconnections and ensuring safety.
- Electrical Tape: Used to insulate wire connections, protecting them from moisture and accidental contact.
- Switch Box: A plastic or metal box for housing the receptacles, providing safety and organization.
Equipping with these tools and materials streamlines the wiring process, contributing to a safe and efficient series installation.
Steps to Wire Receptacles in Series
Wiring receptacles in series requires careful attention to each step to ensure a safe and efficient installation. Follow these steps for a successful project.
Step 1: Turn Off the Power
Always turn off the circuit breaker that supplies power to the outlets being installed. Use a voltage tester to confirm that no electricity is flowing to the receptacles before proceeding. This precaution prevents electric shock and ensures safety throughout the wiring process.
Step 2: Prepare the Receptacles
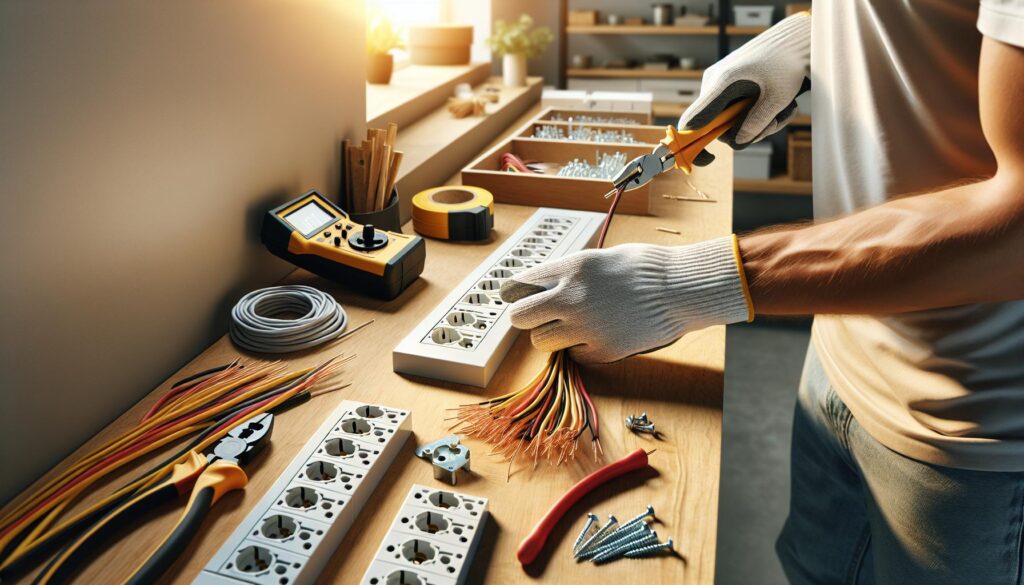
Choose the correct type of receptacles for the installation. Strip approximately 3/4 inch of insulation from the ends of the wires. Use wire strippers for accuracy. Ensure all receptacles are clean and free from debris, facilitating proper connections and optimal performance.
Step 3: Connect the Wires
Connect the first outlet to the power source. Attach the incoming hot wire to the brass terminal and the neutral wire to the silver terminal. Then, run a wire from the first outlet to the second, connecting the hot wire to the next brass terminal and the neutral wire to the next silver terminal. Repeat this process for any additional outlets. Ensure that the ground wires are securely connected to the ground terminals.
Step 4: Secure the Connections
Tightly secure all wire connections using wire nuts. Wrap electrical tape around each connection for added protection. Carefully place the receptacles back into their respective boxes, ensuring no wires are pinched or exposed. Fasten the cover plates to the receptacles to complete the installation.
Safety Considerations
Safety serves as a critical component when wiring receptacles in series. Following specific precautions minimizes the risk of electrical shock and fire hazards.
- Turn Off Power: Deactivate the circuit breaker supplying power to the receptacles. Confirm the power is off using a voltage tester before proceeding with any work.
- Wear Protective Gear: Use safety glasses and rubber-soled shoes during the installation process. These items offer added protection against accidental electrical contact.
- Use Quality Materials: Opt for materials that meet electrical standards, including certified wire gauge and receptacles. Avoid using outdated or damaged components during installation.
- Check Load Capacity: Assess the total load capacity of the circuit. Ensure that the combined wattage of all devices does not exceed the circuit’s amperage rating, typically 15 or 20 amps for standard circuits.
- Secure Connections: Ensure all wire connections are tight and covered with wire nuts. Loose or exposed connections can cause arcing, which leads to overheating or fire.
- Maintain Grounding: Ensure grounding wires are properly connected at every outlet. Grounding reduces the risk of electric shock and enhances user safety.
- Inspect and Test: Conduct a thorough inspection of all connections before restoring power. Test the receptacles after installation to verify they function correctly and safely.
Implementing these safety considerations creates a secure environment for wiring receptacles in series, promoting safe usage of electrical outlets in a home or workspace.
Wiring receptacles in series can be a rewarding DIY project that enhances electrical functionality. By following the outlined steps and adhering to safety precautions, anyone can achieve a successful installation. Understanding the benefits and considerations of series wiring empowers individuals to make informed decisions about their electrical systems. With the right tools and a careful approach, transforming electrical outlets becomes an achievable task. Embracing this skill not only improves home efficiency but also fosters confidence in tackling future electrical projects.


