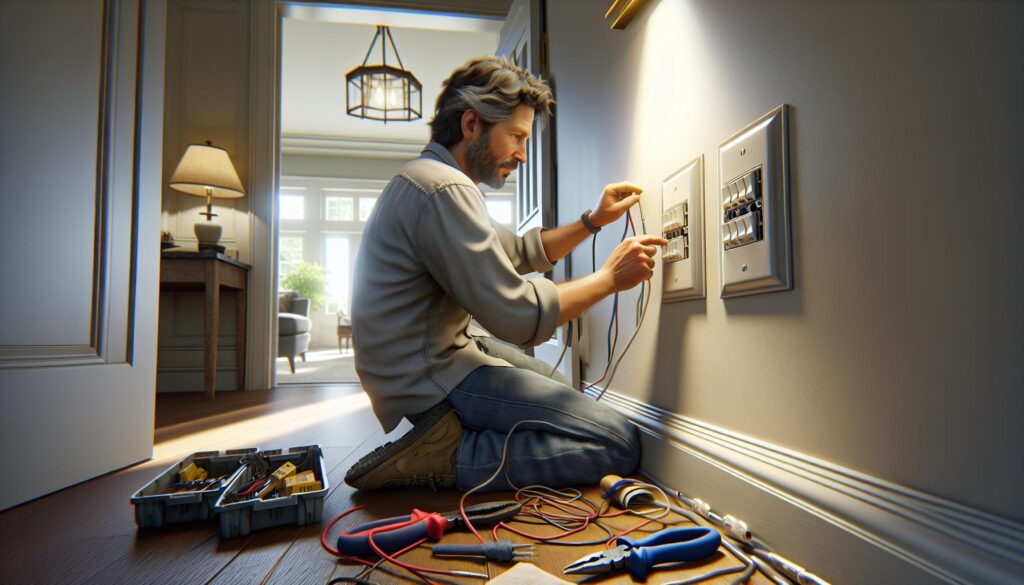
Wiring a three-way switch can seem daunting, but it’s a skill that opens the door to greater control over lighting in a home. Whether you’re looking to improve accessibility or simply want to enhance your living space, understanding how to wire a three-way switch is essential. This setup allows you to control a single light fixture from multiple locations, making it perfect for hallways, staircases, or large rooms.
With the right tools and a bit of guidance, anyone can master this project. This article will walk through the steps needed to wire a three-way switch safely and effectively. By the end, readers will feel confident tackling this home improvement task, transforming their lighting experience with ease.
How to Wire Up 3 Way Switch
A three-way switch allows users to control a single light fixture from two different locations. This system offers convenience, especially in larger spaces and areas with multiple entry points.
Definition and Purpose
A three-way switch differs from a standard switch in its ability to control lighting from more than one location. The primary purpose is to enhance accessibility and convenience. For instance, homeowners often install three-way switches in hallways, staircases, and large rooms, allowing multiple access points to illuminate the space without needing to walk back to a single switch.
Components of a 3 Way Switch
Three-way switches consist of several key components essential for functionality:
- Switches: Two three-way switches are required in a typical setup. Each has three terminal screws instead of two.
- Traveler Wires: These wires connect the switches, allowing current to flow between them. There are typically two traveler wires, facilitating control from either switch.
- Ground Wire: A ground wire connects to the switch components, enhancing safety by preventing electrical faults.
- Power Source: A direct connection to the electrical supply is necessary to power the circuit. This may come from a junction box or an existing switch.
- Light Fixture: The light fixture completes the circuit, illuminating when either switch is activated.
Understanding these components is crucial for successfully wiring and troubleshooting a three-way switch system.
Tools and Materials Needed

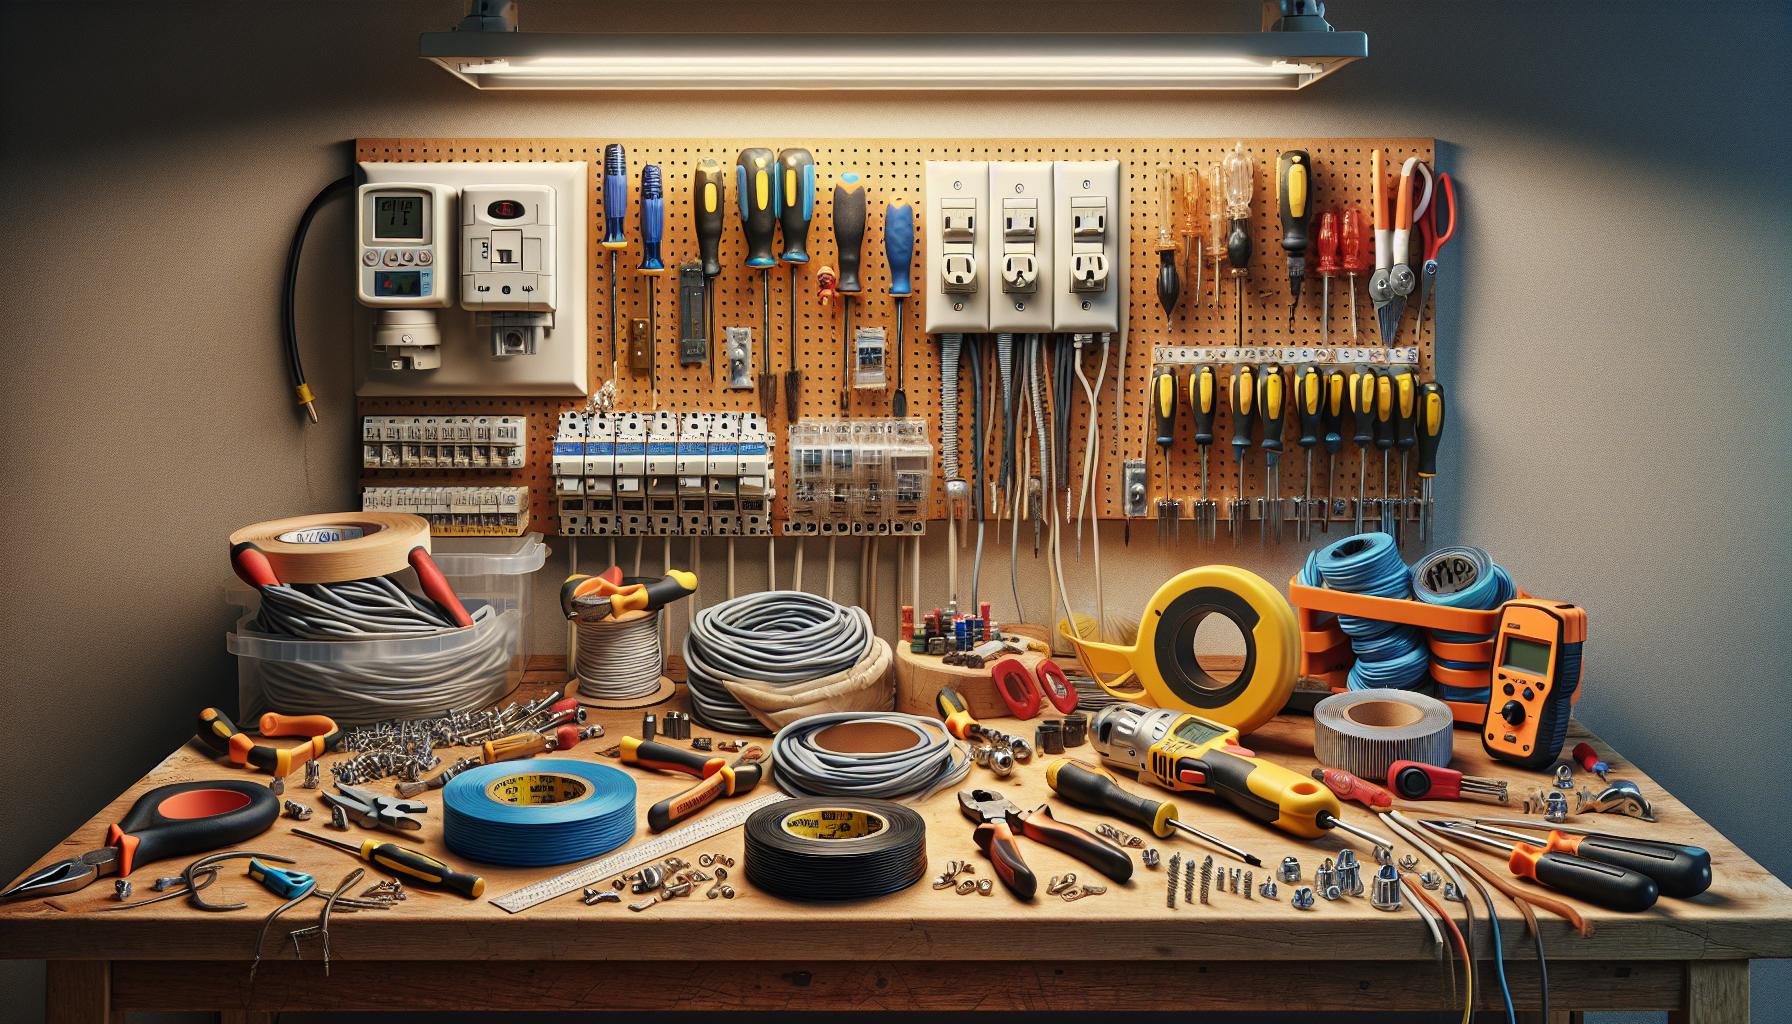
Gathering the right tools and materials is crucial for wiring a three-way switch properly. This preparation ensures efficiency and safety throughout the project.
Essential Tools
- Screwdriver: A flathead and Phillips screwdriver helps remove and install switch plates and screws.
- Wire Strippers: Wire strippers aid in stripping insulation from the ends of the wires for connections.
- Voltage Tester: A voltage tester detects live wires, ensuring safety during the installation process.
- Electrical Tape: Electrical tape secures wire connections and provides insulation to prevent shorts.
- Drill: A drill can assist with creating holes for mounting switches if necessary.
- Measuring Tape: Measuring tape ensures accurate placement of switches and wire lengths.
- Three-Way Switches: Two three-way switches control lighting from different locations.
- Electrical Wire: Depending on the setup, 14/2 or 12/2 gauge wire is commonly used for household circuits.
- Wire Nuts: Wire nuts connect wire ends securely, maintaining safe electrical contacts.
- Ground Wire: A ground wire enhances safety by redirecting excess current in case of faults.
- Light Fixture: The light fixture connects to the three-way switch, completing the circuit for illumination.
- Box for Switches: A switch box houses switches securely, protecting connections and ensuring compliance with codes.
Step-by-Step Guide on How to Wire Up 3 Way Switch
Wiring a three-way switch involves a series of clear, methodical steps to ensure proper installation and functionality. Follow these detailed instructions for optimal results.
Turning Off the Power
Turning off the power is crucial for safety before beginning any electrical work. Locate the circuit breaker panel and switch off the breaker that controls the circuit supplying power to the light fixture and switches. Confirm that the power is off using a voltage tester to prevent any risk of shock during the wiring process.
Wiring the First Switch
Wiring the first switch involves connecting the correct wires to the terminals. Identify three wires: the ground wire (usually bare or green), the common wire (usually black), and two traveler wires (often red and black). Connect the ground wire to the green terminal on the first switch. Attach the common wire to the black terminal. Finally, connect one traveler wire to the remaining terminal on the switch and repeat the process for the second traveler wire, ensuring all connections are secure and tight.
Wiring the Second Switch
Wiring the second switch mirrors the first switch. Position the second switch in a convenient location near the desired entry point. Attach the ground wire to the green terminal. Connect the traveler wires from the first switch to the appropriate terminals on the second switch. The common wire should not be connected to the second switch, as this will come from the light fixture. Confirm that all connections are tight and secure for effective functionality.
Connecting the Light Fixture
Connecting the light fixture involves establishing connections between the fixture and the switches. Run a power supply wire from the circuit source to the light fixture’s connection box. Connect the black wire from the light fixture to the common wire from the second switch. Attach the ground wire to the fixture’s ground terminal. Finally, connect the white wire from the power source to the white wire of the light fixture to complete the circuit. Ensure all wiring is securely fastened and neatly arranged within the box.
Common Mistakes to Avoid
Several common mistakes can hinder the success of wiring a three-way switch. Recognizing and avoiding these errors ensures a safer and more efficient process.
Incorrect Wiring Connections
Incorrect wiring connections rank among the most frequent mistakes made during installation. Ensuring correct placement of traveler wires, common wires, and ground wires is essential for functionality. Connecting the wrong wires can cause the switches to malfunction or the light fixture to remain inoperable. Always double-check the wiring diagrams specific to three-way switches to confirm wire placements. Labeling wires before disconnecting them can also prevent mix-ups during reconnections.
Overlooking Safety Measures
Overlooking safety measures significantly increases the risk of electrical accidents. Neglecting to turn off the power at the circuit breaker prior to starting work can lead to dangerous situations. Using a voltage tester to verify that the power is off is crucial. Additionally, securing loose wires with electrical tape and avoiding overloading circuits protect both the individual and the home. Wearing protective gloves and goggles during installation improves overall safety. Establishing a safe working environment fosters confidence and prevents injuries.
Wiring a three-way switch can significantly enhance the functionality and accessibility of lighting in a home. With the right tools and knowledge, anyone can tackle this project confidently. By understanding the components involved and following the outlined steps, the process becomes straightforward and manageable.
Safety remains a top priority throughout the installation. Taking precautions and double-checking connections helps prevent common mistakes. After completing the wiring, the satisfaction of controlling lighting from multiple locations adds convenience to daily life. Embracing this DIY project not only improves living spaces but also empowers individuals with valuable skills for future home improvements.
