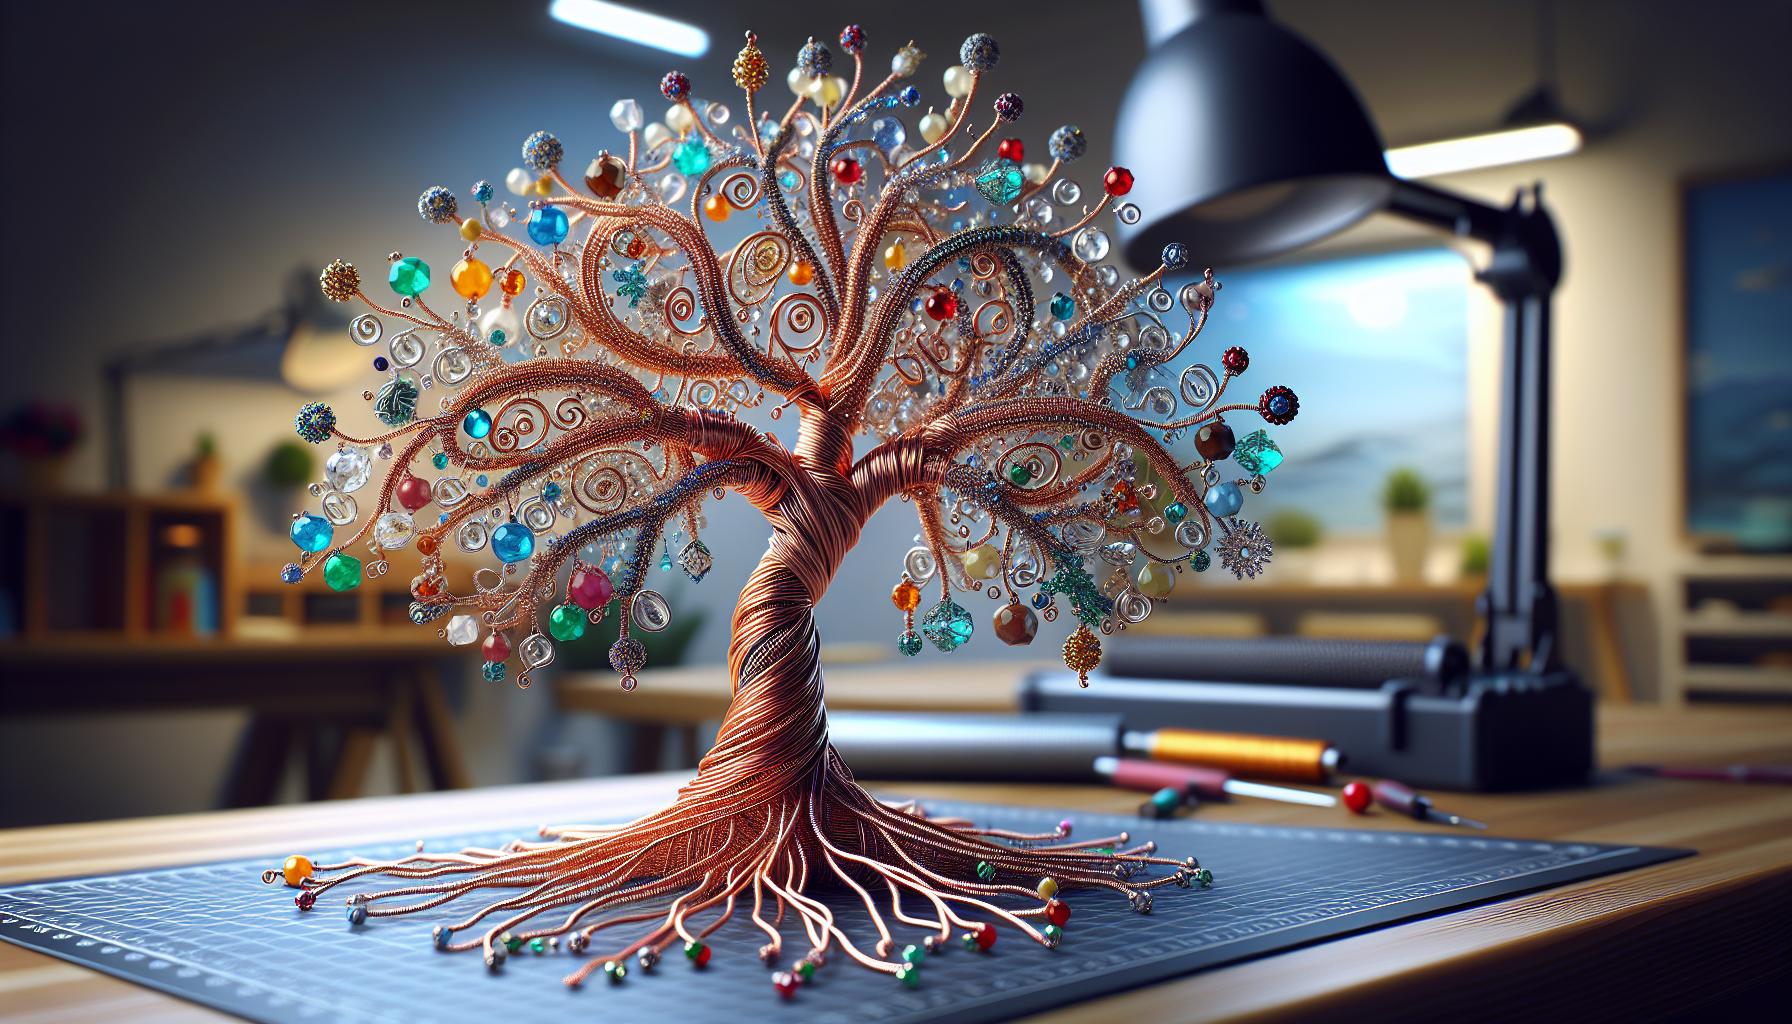
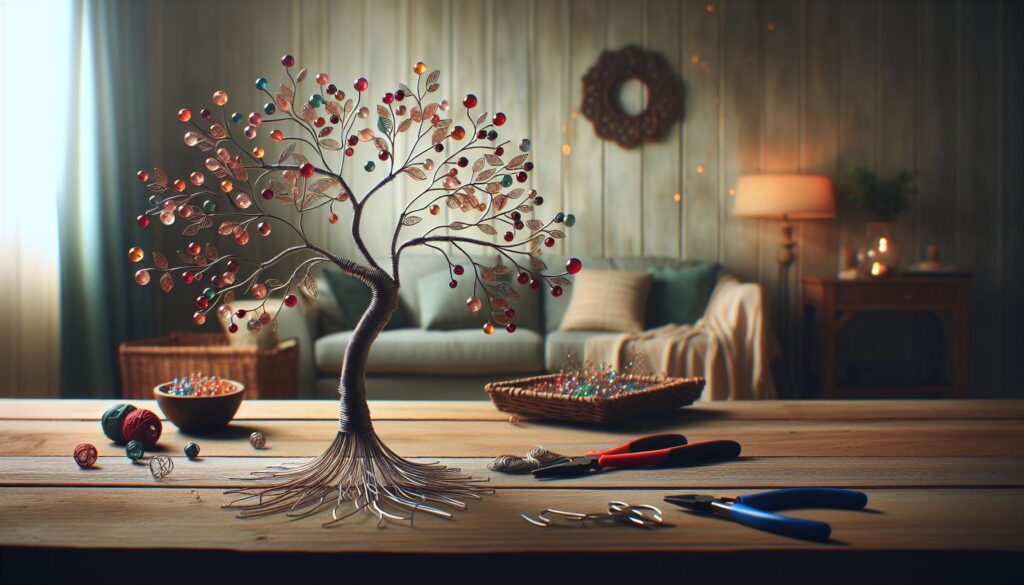
Crafting a tree of life out of wire is a captivating way to express creativity while embracing the beauty of nature. This intricate art form combines simple materials with imaginative design, resulting in a stunning piece that symbolizes growth, strength, and interconnectedness. Whether you’re a seasoned crafter or a curious beginner, making a wire tree can be a fulfilling experience.
With just a few tools and some wire, anyone can transform their vision into a tangible work of art. The process not only allows for personal expression but also offers a calming escape from the hustle and bustle of everyday life. Dive into this engaging project and discover how to create your own unique tree of life, adding a touch of elegance and meaning to your space.
How To Make A Tree Of Life Out of Wire
Creating a wire tree of life requires a few essential materials that are both accessible and straightforward to use. Below are the main components you’ll need to start this creative project.
Types of Wire
- Craft Wire: Use 18 to 20-gauge craft wire for a balanced combination of flexibility and strength. This wire works well for branches and roots.
- Aluminum Wire: Opt for aluminum wire for its lightweight properties and variety of colors. It’s easy to manipulate and holds shapes well.
- Copper Wire: Choose 18-gauge copper wire for durability and its natural tarnish that adds character. Copper provides a classic look for a tree of life.
- Florist Wire: Consider florist wire for finer details, including wrapping smaller branches or adding decorative elements. It’s flexible and versatile.
- Wire Cutters: Use wire cutters to easily trim wires to desired lengths, ensuring clean cuts and preventing frayed ends.
- Pliers: Get round-nosed pliers for creating loops and bending wire, along with flat-nosed pliers for gripping and twisting.
- Beading Tool: Employ a beading tool if incorporating beads to enhance the visual appeal of the tree. This helps in positioning beads precisely.
- Base or Stand: Prepare a sturdy base, such as a wooden block or stone, to provide support and stability for the finished tree design.
Step-by-Step Instructions

Creating a wire tree of life involves specific steps for optimal results. Each stage requires attention to detail for a finished product that reflects artistic vision and skill.
Preparing the Wire
Gather various wire types, including craft wire, aluminum wire, copper wire, and florist wire. Cut lengths ranging from 12 to 36 inches, depending on the desired size of the tree. Use wire cutters for clean edges. Organize the wire into groups for easier access during crafting. For stability, consider using thicker wire for the trunk and thinner wire for branches.
Shaping the Tree
Craft the tree’s trunk by twisting several wire pieces together. Create a sturdy base by anchoring the trunk into a flat surface. Form branches by bending and twisting additional wire, ensuring they extend outward and upward. Balance the branches for an organic look, allowing some to curve naturally. Secure the branches by twisting them to the trunk, ensuring a solid connection.
Adding Leaves and Details
Select beads, stones, or colored wire pieces to create leaves. Attach these using smaller gauge wire by wrapping it around the ends of branches. Distribute the leaves evenly for a harmonious appearance. Incorporate additional decorative elements such as small flowers or crystals to enhance the design. Check for balanced distribution to maintain visual interest. Make final adjustments to shape and detail for a polished finish.
Tips for Success
Crafting a wire tree of life can be rewarding and enjoyable. Following these tips ensures a smooth process and a successful outcome.
Common Mistakes to Avoid
- Using Inappropriate Wire: Selecting the wrong type of wire can lead to structural issues. Craft wire is ideal for beginners, while aluminum offers flexibility for intricate designs.
- Neglecting Wire Preparation: Skipping the preparation step can complicate the process. Properly cut wire lengths between 12 and 36 inches and organize them for easy access.
- Overlooking Balance: Forgetting to balance branches affects the tree’s appearance. Distribute weight evenly across the branches for a stable design.
- Rushing the Twisting Technique: Hurrying through the twisting of the trunk and branches may result in weak connections. Take time to twist firmly for stability.
- Ignoring Detail in Decorative Elements: Not paying attention to the placement of leaves or beads can diminish visual appeal. Spend time arranging each element for a polished look.
- Colorful Wire Choices: Use colored craft wire or enameled wires for vibrant designs. This adds a personal touch and enhances the visual impact.
- Unique Bases: Experiment with various bases like wooden blocks, stones, or glass for a striking display. Each base offers a different aesthetic and enhances the tree’s presence.
- Themed Designs: Create themes using seasonal leaves or specific colors to represent different meanings. Design variations can symbolize change or personal milestones.
- Layering Techniques: Employ layering by creating multiple smaller trees to form a larger piece. This method adds depth and texture to the overall design.
- Incorporating Natural Elements: Include stones, crystals, or dried flowers within the design for added character. These elements enhance symbolism and connect the piece to nature.
Displaying Your Tree of Life
Displaying a wire tree of life enhances its beauty and significance. Optimal placement and complementary decor elevate the overall aesthetic and draw attention to this unique piece of art.
Ideal Locations
Placing the wire tree of life in visible areas maximizes its impact. Consider these locations:
- Living Room: Position the tree on a coffee table or shelf to inspire conversation.
- Home Office: Displaying the tree on a desk promotes creativity and mindfulness.
- Entryway: A tree in the foyer welcomes guests and adds a personal touch.
- Garden: An outdoor display of the tree complements natural surroundings, enriching the outdoor ambiance.
Complementary Decor
Choosing decor that complements the wire tree enhances its visual appeal. Consider these options:
- Plants: Incorporate potted plants to create a harmonious natural theme.
- Artworks: Hang complementary art nearby to create a cohesive artistic statement.
- Lighting: Soft lighting around the tree highlights its details, especially in dimly lit spaces.
- Textures: Use various materials, such as wood or stone, to add depth and contrast to the display.
These strategies improve the overall presentation and celebrate the personal significance of the tree.
Creating a wire tree of life is not just a crafting project; it’s a journey of self-expression and connection to nature. With the right materials and techniques, anyone can bring this beautiful symbol of growth and interconnectedness to life.
As each branch takes shape and every bead is added, the tree becomes a reflection of personal creativity and intention. Displaying this unique piece in a thoughtfully chosen spot enhances its beauty and significance, inviting admiration and contemplation.
Whether for personal enjoyment or as a heartfelt gift, a wire tree of life serves as a lasting reminder of the beauty found in nature and the bonds that connect us all.
